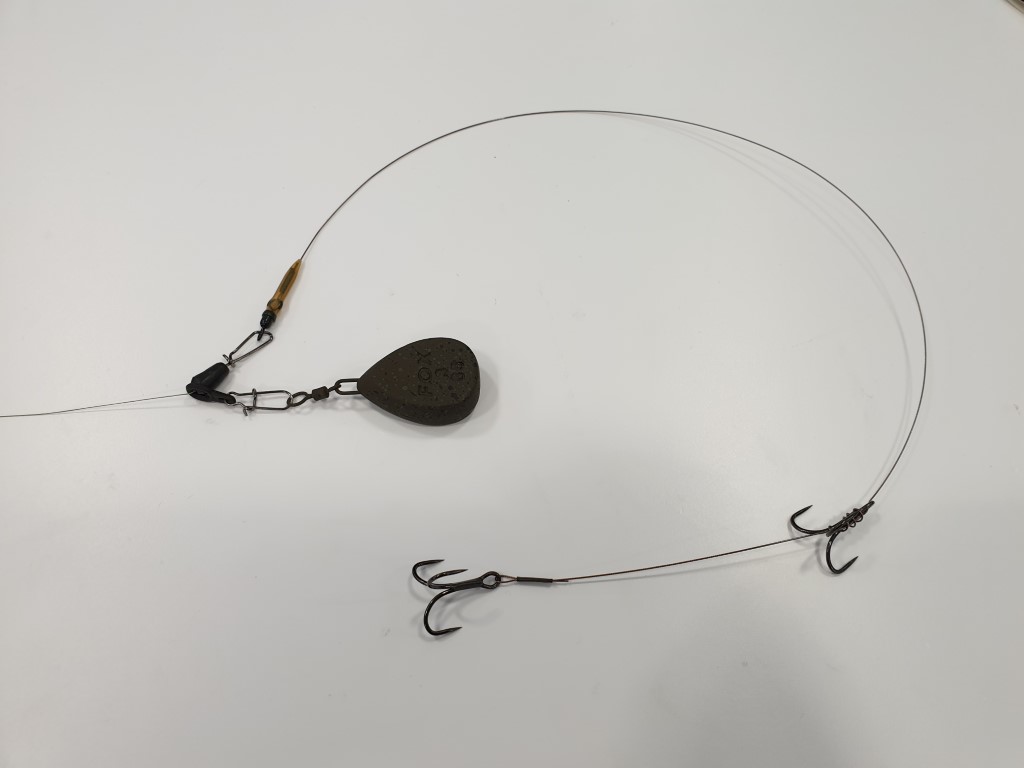
If bait fishing for pike is on your fishing bucket list, then learning to make your own wire trace will be part of your pike fishing journey. Making your own wire traces not only saves you money in the long run but it also provides you with confidence knowing that you have tested the components that you have incorporated into your own pike trace.

In this article, we will be providing you with a list of tools and instructions on constructing a wire trace for pike bait fishing.
Wire Choice
When it comes to wire choices there are various brands and strands of wire available. So, where do you actually start? Well, it really does come down to personal choice, however, to give you a better understanding of the choices available, we have provided you with a breakdown of the most commonly used pike wires on the market.

7-Strand Wire
As the name suggests, it’s a pike wire that is made up of 7 micro cables of stainless steel wire that are twisted together to provide its overall profile. 7 strand wire has slightly stiffer characteristics to its 49 strand counterpart. Traditionally, this style of wire is what many pike anglers used prior to the introduction of 49 strand wire and is still commonly used today.

49-Strand Wire
You’ve probably guessed it, this wire is made from 49 micro cables that are twisted together. 49 strand wire is very supple and is known for its better kink resistance compared to its 7 strand counterpart. The use of this wire was to provide a more natural bait presentation and eliminate the chances of dropped runs when fishing for pressured fish. The jury is out on this theory and we will let you make your own decision on that one!
Coated Wire
Most modern pike trace wire comes with a plastic coating. This provides a protective coating that will minimise any damage caused by the wire when under tension and in the mouth of a pike. The plastic coating also provides an abrasion barrier that helps protect the wire during use, especially over rougher ground.
Pike wires do come uncoated too; the advantage of an uncoated wire is it allows anglers to see any damage that may have been caused to one of the twisted micro cables.
Wire Breaking Strain
When it comes to wire breaking strain, anything of 28lb breaking strain and above is the norm. Most experienced pike anglers will opt for a 30-40lb breaking strain wire. This is mainly for added security, if for some reason your trace hooks snag the lake/loch bottom, the extra breaking strain will give you the ability to bend/straighten your hooks out. Ensuring you retrieve your terminal tackle and eliminate the chances of leaving a baited wire trace in the water.
Tools and Material Required
- A spool of pike trace wire
- Single sleeve crimps (ensure they are the correct size for the wire you are using)
- Crimping tool
- Wire cutters
- Tail rubber sleeves
- Swivels
How To Tie A Wire Trace
1. We will start by constructing the bottom of the wire trace first. Take a 26” length of wire from the spool and slide a single crimp sleeve over the wire.
- 1
- 2
- 3
- 4
2. Now thread the first treble hook onto the wire and slide the tail end of the wire up through the crimp again, leaving a tag end of the wire. Then use the crimping tool and firmly crimp the crimping sleeve into position. Ensure you leave a loop in the wire for the treble hook to move freely. Then cut the tag end of the wire with your wire cutters. We now have our tail treble hook in place.
- 5
- 6
- 7
- 8
3. Next, we want to thread our next hook on the other end of the trace wire, slide the treble hook down to the position that you want it to sit at. We like a 4-inch gap between our two trebles as this will accommodate most dead bait sizes. However, it is a personal preference.
Once we have found out ideal hook position, hold the hook and wire in place with your thumb and forefinger. Ensure the wire is running parallel with the shaft of the hook. Next, we want to take the long tag end of the wire and tightly fold it down on the opposite side of the hook shaft and bring it up around the bottom of the hook, ensuring the wire is trapped between the U bend of the hook.
- 9
- 10
- 11
- 12
Once you have done this, wrap the wire around the shaft of the treble 3-4 times and thread the line back through the eye of the treble hook and pull it tight.
- 13
- 14
- 15
4. After the two hooks are put in place, we now want to attach a swivel to the end of the trace wire. To do this, simply slide a tail rubber sleeve on the wire first. Followed by a crimp sleeve.
- 16
- 17
- 18
5. Then thread a swivel on the end of the wire. Pass the tag end of the wire back through the crimp sleeve and tighten the wire down, leaving a small loop between the swivel and the crimp. Then use the crimping tool to close the crimp. Remember to squeeze the crimping pliers firmly to do so.
- 19
- 20
- 21
6. Now slide the tail rubber sleeve up over the crimp and onto the eyelet of the swivel. This provides us with a bit of rigidity and eliminates the possibilities of the trace tangling around the lead clip or mainline during the cast.
- 22
- 23
- 24


